Are you wondering how to blur the background of a picture on your iPhone? Creating beautifully blurred backgrounds might seem difficult… but it’s easy with the tricks you’re about to discover! Read on to start creating stunning iPhone photos with gorgeous background blur.
Contents
1. Capture Beautifully Blurred Backgrounds Using Portrait Mode
Do you want to shoot stunning iPhone portrait photos with gorgeous blurred backgrounds?
If you thought you could only achieve professional results with a DSLR camera… think again!
The built-in iPhone Camera app has an incredible tool for blurring the background in your photos.
What is this tool?
It’s called Portrait mode.
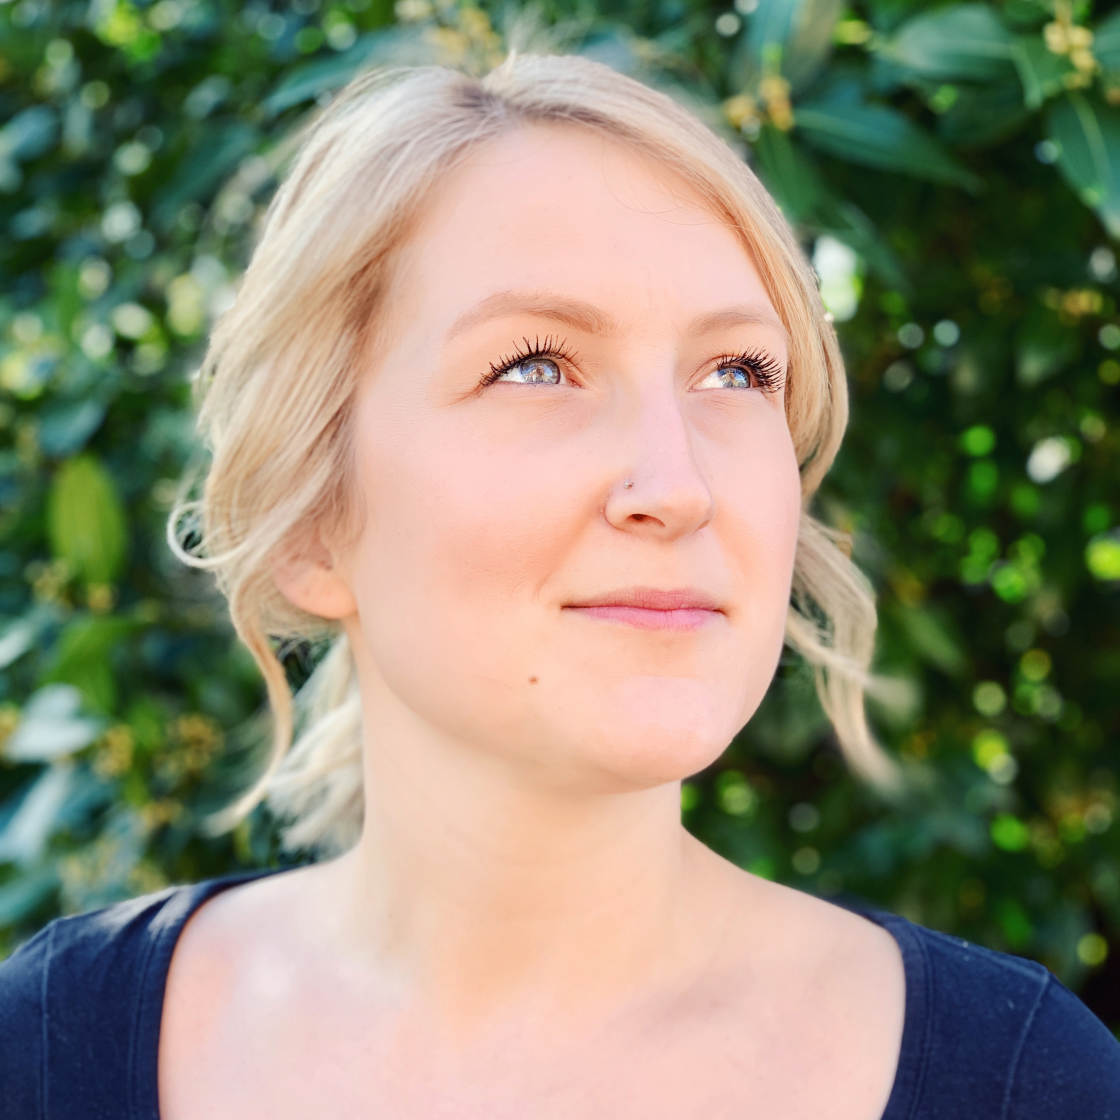
Portrait mode uses depth-effect software to blur the background of a picture as you shoot it.
The subject will remain in sharp focus… which is perfect for portrait photography.
It’s also great for scenes with distracting backgrounds. Your subject will stand out much better if the background is blurred.
Portrait mode is available on all of the latest iPhones: iPhone 12, iPhone 12 Mini, iPhone 12 Pro, and 12 Pro Max.
If your iPhone doesn’t have Portrait mode, don’t worry! Just skip to Section 2 below to discover how to blur photos on iPhone without using Portrait mode.
1.1 How To Blur Background On iPhone Using Portrait Mode
So, how do you use Portrait mode to blur the background in your iPhone photos?
First, open the Camera app. Then select Portrait at the bottom of the screen.
Ensure your subject is between two and eight feet from the camera. There also needs to be enough light in the scene. (Portrait mode doesn’t always work in low light.)
When you’ve composed your photo, you’ll see a yellow focus box around the subject’s face. The face will be in focus and the background will appear blurred.
When you see the words Natural Light (or Depth Effect on iPhone 7 Plus) in yellow, your iPhone is ready to shoot.
Now, simply press the shutter button to take a picture!
1.2 How To Change Background Blur In Portrait Photos
Did you know you can make changes to the background blur… after you’ve taken a photo?
If you have one of the iPhones listed below, you can easily adjust the strength of the background blur:
iPhone 12, 12 Mini, 12 Pro, 12 Pro Max, 11, 11 Pro, 11 Pro Max, XS, XS Max, and XR.
Open your portrait photo in the Photos app. Then tap Edit at the top right.
A low f/number results in strong blur. And a high f/number results in less blur with more background detail.
The Depth slider isn’t available on older iPhones. However, if you’re not happy with the background blur, you can revert to the original image without any blur.
To remove the blur, tap the yellow Portrait option at the top of the screen. The depth effect will be switched off and the blur will be removed. You can switch the blur back on at any time by tapping Portrait again.
While we’re looking at the Portrait mode editing options, let’s take a look at Portrait Lighting (not available on iPhone 7 Plus).
Portrait Lighting lets you add different studio lighting effects to your portrait photos.
At the top left of the editing screen, tap the Portrait Lighting (hexagon) icon. The Portrait Lighting icons will appear beneath your photo.
Swipe across the Portrait Lighting icons (cube icons) at the bottom of the photo.
Natural Light doesn’t modify the lighting in any way. Studio Light brightens your subject’s face. Contour Light adds shadows for more defined facial features.
[“source=iphonephotographyschool”]


